
Maternity jeans are fabulous for many reasons, however there’s one thing they always seem to be lacking in.
Pockets!
This has been especially difficult due to the ever-pervasive “pregnancy brain”. I need a place to store stuff!
Cue DIY pockets for your maternity jeans.
Making your own jeans pockets consists of three parts: 1) Making the pockets 2) Opening a pocket slot in your jeans 3) Sewing the pocket into the pocket slot. You can expect the entire process to take 3-4 hours.
Supplies needed:
– jeans lacking in pockets
– some old fabric for the pockets (I used an old pair of hiking pants, green)
– a template for the new pockets (I used the gray hiking shorts)
– a sewing kit with needle, thread, and pins
– scissors
– a sharp blade for ripping out thread (I used a pocket knife)
– sharpie
– chalk (not pictured)

Part 1: Make the Pockets
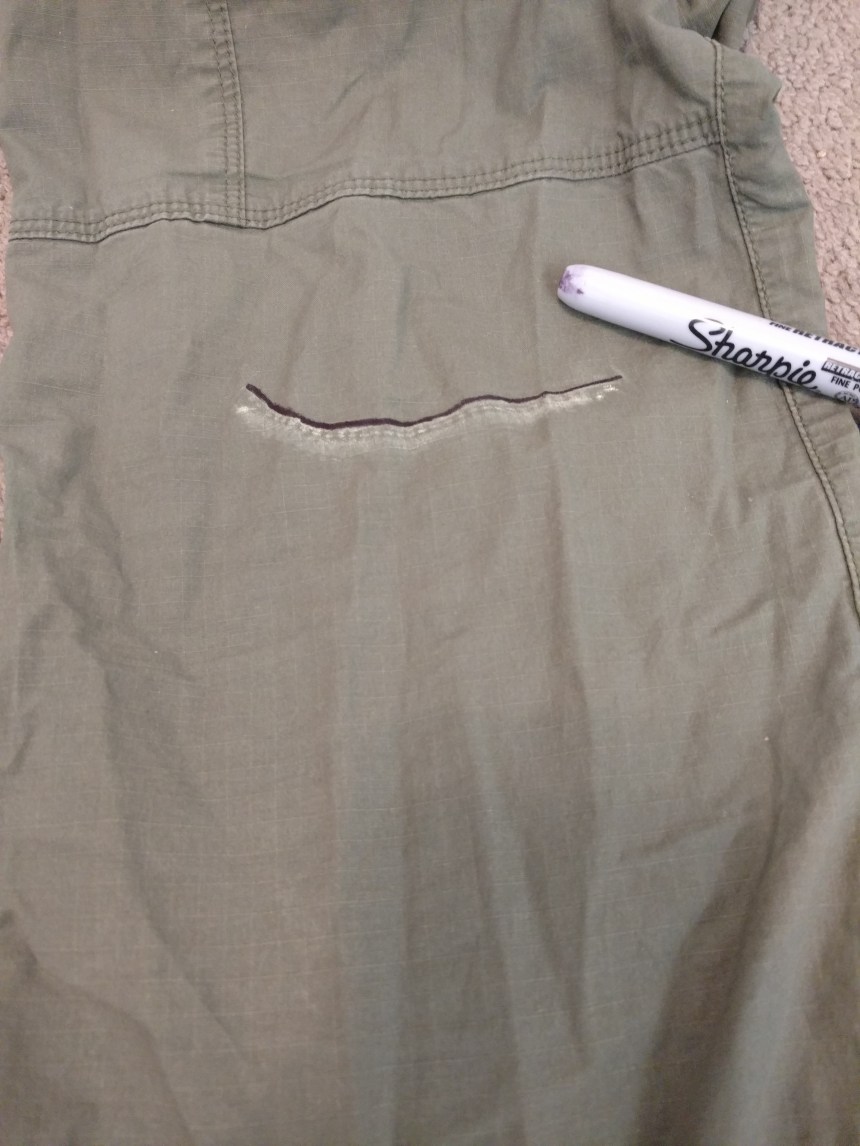
1) First you will want to trace the curve of the faux jeans pocket you will be sewing your new pocket into. Use sidewalk chalk or similar to heavily mark the seam of the pocket. Trace a little farther than the actual pocket so you don’t accidentally make the new pocket too small.

2) Take the old fabric you will be making the pockets from. Press it against the chalk line, rubbing it hard with your fingers to make a clean line with the chalk.

3) Trace the chalk line with sharpie.
4) Now create the outline of the rest of the pocket. I did this by eyeballing my template pocket. Think of how big you want the pocket to be. I wanted to fit my whole hand in without bending my fingers, so I measured the outline against my hand as I was drawing. I also rounded the corners because I hate when crumbs and dust get stuck in the corners of my pockets.
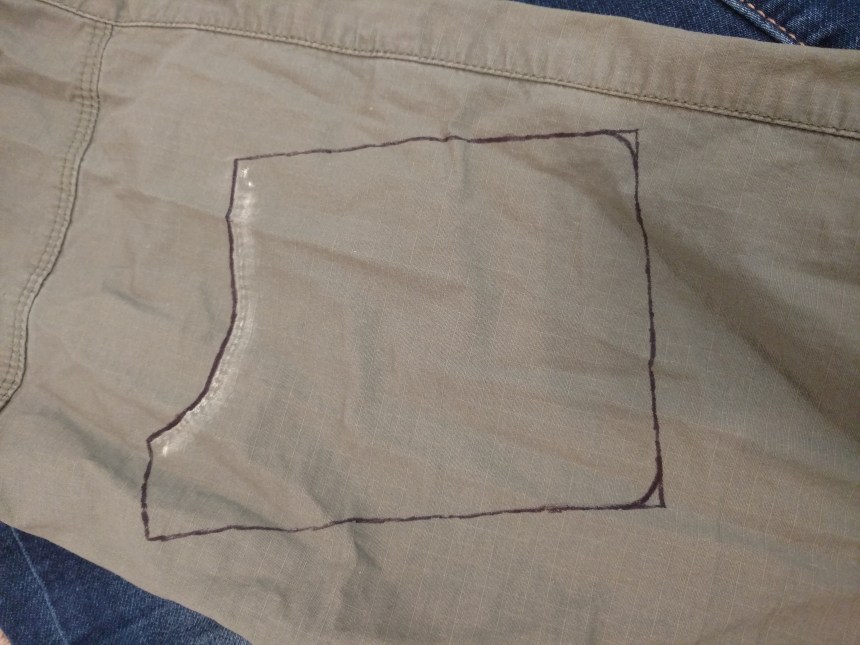
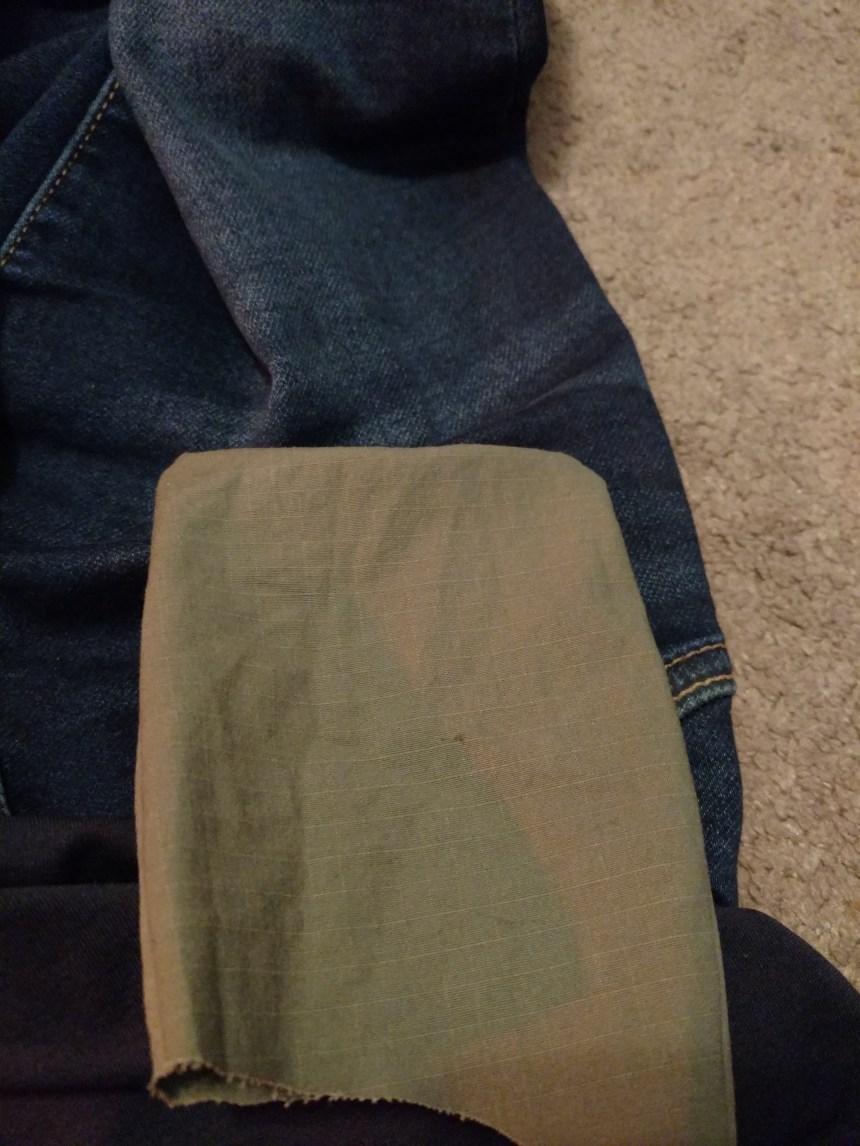
5) Cut out the pocket. As with any template, be sure to cut along the outside of the sharpie line.

6) Ta-da! The pocket should look like it more or less matches the jeans pocket.

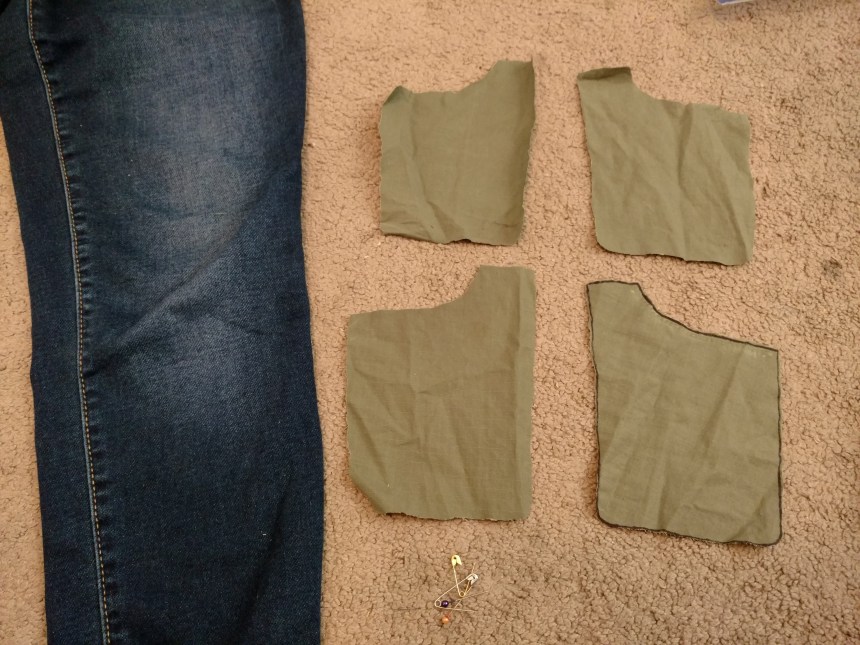
7) Pin this cutout to your spare fabric to create the second half of the first pocket. If your fabric does not have a lot of folds or seams, you can fold it over and cut out three additional pockets halves at the same time. Since my fabric was an old pair of pants, there were a lot of seams and I had to cut out each pocket separately.

8) You will want FOUR total cutouts to make TWO pockets.
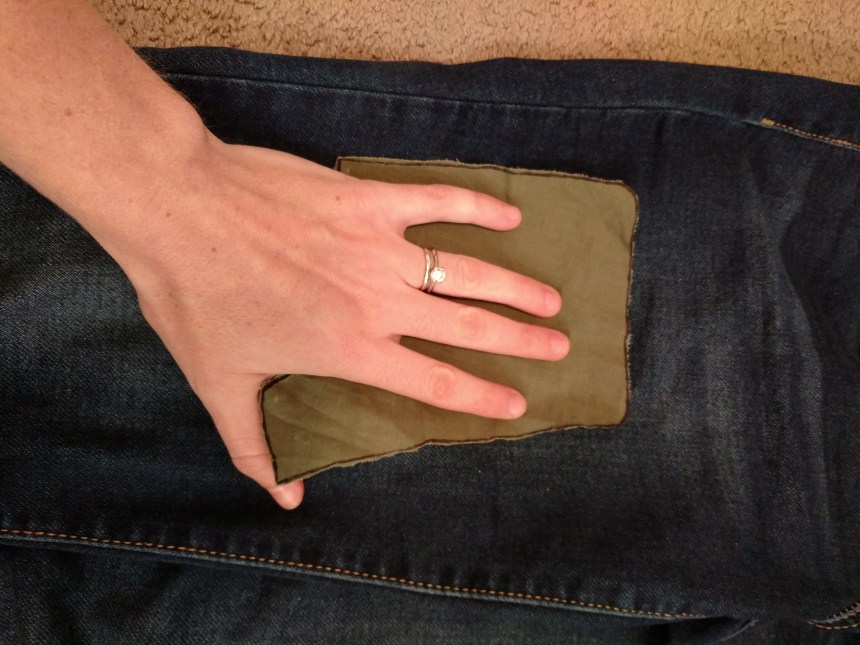
9) Pin two of the fabrics together and sew along the bottom and side edges. Leave the top open. The thread color does not matter as this will be on the inside of the jeans (against your leg).

10) Pocket #1! Notice how well it fits my hand.
11) Repeat for the second pocket.

Part 2: Open a pocket slot in your jeans
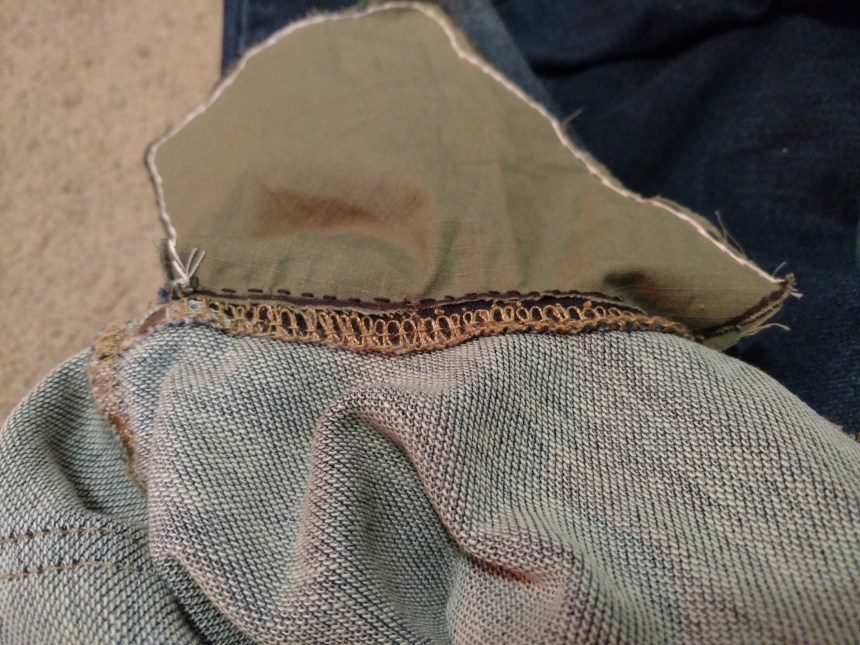
12) Use your knife or sharp blade to open the pockets. These were machine-sewed shut so there will be several layers of thread to cut through. Put the pocket apart until you can see the first layer of thread, and cut away. NOTE: You will lose the top decorative thread of the pocket by doing this.
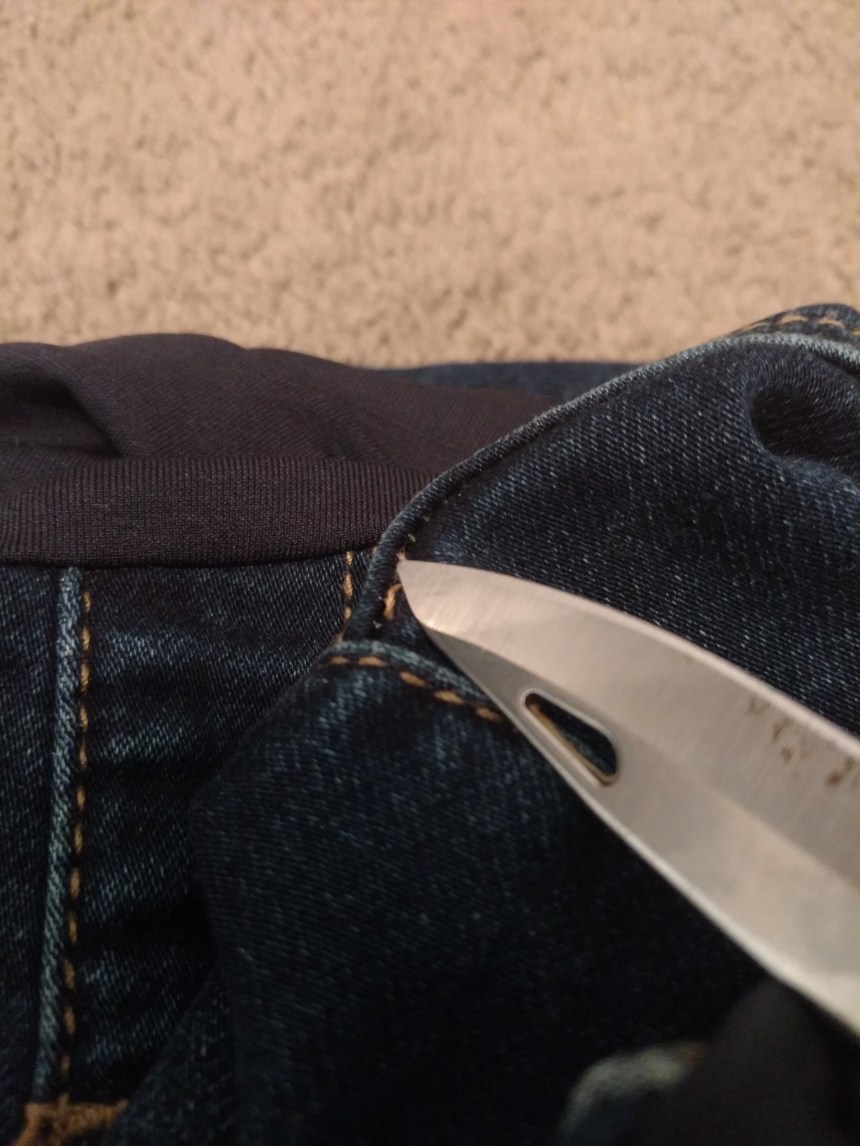
13) Continue cutting through each new layer of thread until you’ve made a hole all the way through the pocket slot. I think my jeans had four sets of thread to cut through. Once you create the first hole it will be easier to make it bigger. Be sure not to cut any thread you don’t absolutely need to, as you could end up unraveling the bottom decorative pocket thread.

14) There will be a bunch of small threads sticking out. Pull out as many as you can (many are connected to each other). The ones you can’t pull out, cut them off as close to the jeans as you can.

15) Your pocket slot should now be open and thread-free. Repeat on the other side.

Part 3: Sew the pocket into the pocket slot
16) To pin the pocket into your jeans, I found it easier to turn the pocket inside-out. This is the side that will touch my hands (smooth seams), so this is the side of the pocket you’d see if you were wearing your jeans and pulled your pockets inside out.
17) Pin one side of the pocket to the bottom side of the pocket slot. You will want the frayed edge of the pocket facing down into the pocket slot so that you don’t see threads from it while wearing the jeans.
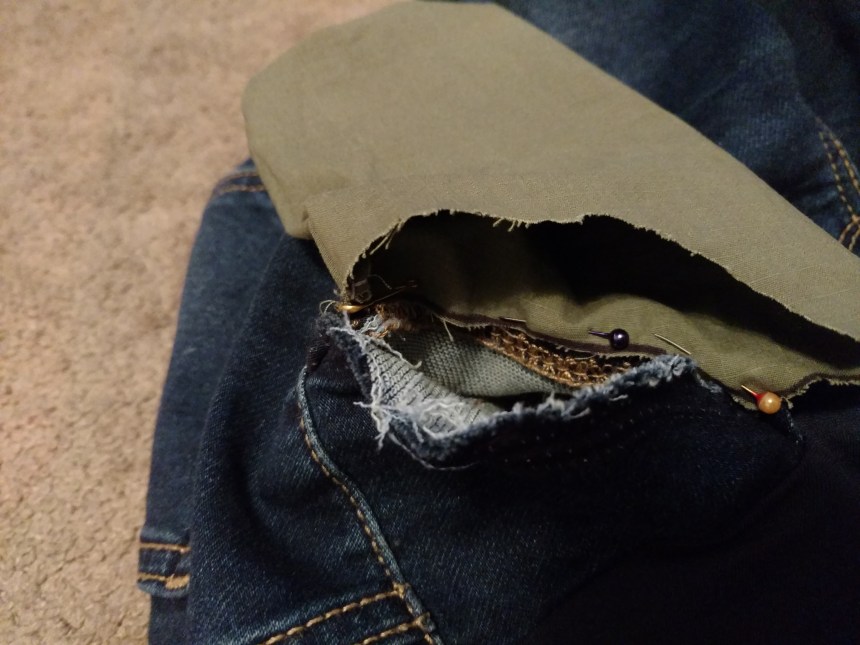
18) Continue the pins across the lower length of the pocket slot. This will be a bit awkward, because the curve of the pocket that the pocket slot is supposed to fit against is bent inside-out. Pull and stretch the pocket and pocket slot as needed to get a clean line of pins.

19) This part can be confusing, so make sure you get the pins right before sewing. It should look clean from the outside, with no frayed edges. Again, this is what the pocket would look like if you were wearing the jeans and turned the pocket inside-out.
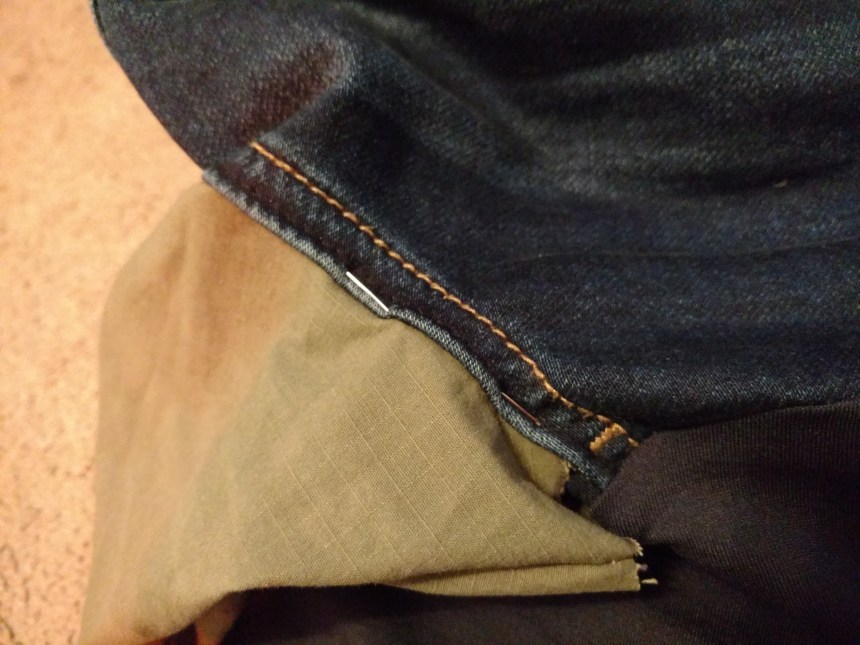
20) Sew the bottom edge of the pocket slot when ready. I used black thread so that the stitch marks would not be obvious while wearing the jeans.

21) Pin the top edge of the pocket slot to the second side of the pocket. This time, line up the frayed edges against each other. You will notice the same awkward folded-over effect while trying to pin.

22) Double check that the pockets look normal from the outside before sewing. This side should be both less confusing and easier to sew than the bottom side. Go ahead and stitch when ready.
23) Ta-da! The final pocket sewed into the jeans 🙂

24) Repeat on the other side. Your maternity jeans now have pockets!

After putting these pockets in, I now have a place to store my keys, wallet, and other knick-knacks. No more lost wallets or rummaging through bags and purses to find what I need!
Do you have any tips or tricks you found helpful? Let me know in the comments!

